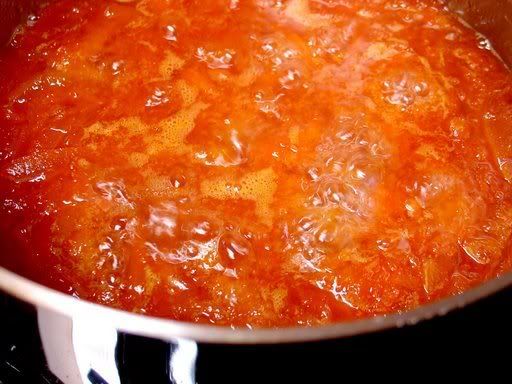
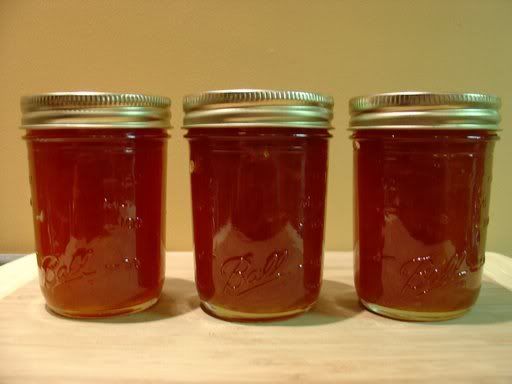
Tuesday, January 29, 2008
Salt & Brine Curing Methods for Olives
Excerpted from Lynn Alley’s book “Lost Arts”, Ten Speed Press, Berkeley, CA 2000:
(Comments in parentheses added by ggda)
DRY SALT CURE
The famous French Nyons olives (tiny, black, and pungent) are salt-cured olives. (As are small, black Mission, Lucca or ripe Arbequina olives.) They are not to everyone's liking, especially those of us born and raised on "finger" olives. They are a bit more fragile than the brine-cured olives, so you might want to make just a small number of them for openers. (We do 5 to 10 pounds at a time as well as 1-2 pounds – depending upon availability)
To dry-salt-cure olives, you must first find a clean pillowcase, (or clean food grade plastic bucket-see below) then make a drawstring top for it (Not actually necessary – tie the top with a stout string or wire.). Mix the olives with their own weight in non-iodized table salt, pickling salt, or rock salt. Pour them evenly into the pillowcase and cover them completely with more salt. You then need to put them someplace where any juice that drips from them will not stain. (Why not hang them in a tree?) (We hang them in a garage with a bucket or pieces of cardboard box under the pillowcase.)
Stir or mix them well once a week for four weeks (or until they lose their bitterness). When they are no longer terribly bitter, rinse them carefully and allow them to dry overnight. (They can also be dried in a single layer on trays in an oven set to the lowest heat- be careful not to dry them even more or they will become hardened.)
Then pack them in oil until you are ready to consume them. You may wish to serve them with a sprinkling of fresh herbs on top. (You can also add herbs to the oil and you store them with the herbs in the oil.)
(DISCLAIMER: There seems to be no agreed upon time that cured olives last, or when they are no longer suitable to eat. Some sources say keep under oil and eat within 2 weeks to a month. If one wants to keep the olives longer, one source, http://www.recipesource.com/misc/hints/00/rec0084.html, suggests the olives would keep for 6 months if the olives are kept in new salt, i.e. remove the curing salt, and re-salt with new clean salt, then pack in air tight jars.)
BRINE CURE
(This recipe is best for speckled or red olives. These have ripened somewhere between green (unripe) and black (ripe)
The brine cure is simple and safe, and it offers the most plausible response to my question about who first discovered that the olive was, given the right circumstances, edible. I suppose it's possible that, long ago, some olives fell into a saltwater tide pool and stayed undisturbed for a considerable length of time. Then one day, perhaps a housewife or fisherman, happened by to give one a try. Much to his or her delight, the olives had become pleasantly salty and quite edible. No doubt, she then took them home to her humble abode and, to her even greater delight, was able to duplicate the process. (The above part may better have started with “Once upon a time, but that’s just me” People still cure olives today in islands by dipping a basket of olives daily in the sea for 10 days. When the inner flesh is dark brown, the olives are ready.
To begin the brine processing, place your clean olives in cold water and change the water each day for 10 days. (I use plastic, covered buckets from a local restaurant supply.) (We have also found large glass crocks also work well. They can be found in a food supply store like Smart & Final) Weigh the olives down with a plate so they all stay submerged. No need to cover at this point. This will start leaching the bitter glucosides out of the olives. Notice the changes in both the color and aroma of the olives. At the end of the 10-day period, you can make a more permanent brine solution in which to continue the process. Add 1 cup of non-iodized salt to each gallon of water. Use enough of this brine to cover the olives.
(Some recipes call for a saturated salt solution at this point. A saturated salt solution is easiest made by measuring out the water needed, and gently placing a whole un-cracked egg in the water. Add the salt and stir – do not break the egg. The solution is saturated with salt when the egg floats. Some folks ask how high the egg should float. One measure is when the diameter of the egg above the water is about the size of a quarter.)
Change this solution weekly for four weeks. At the end of four weeks, transfer the olives to a weaker brine solution until you are ready to use them. The solution should contain ½ cup of non-iodized salt to each gallon of water.
Just how long it will take for your olives to become edible I cannot say. Mine seem to take about two or three months to really develop a rich, olivey flavor. The best piece of equipment you have for assessing when your olives are done is located between your nose and your chin. It doesn't cost much to maintain (outside of your of your biannual dental checkups), so use it! Store your olives in the weaker brine in a fairly cool place and keep them covered. A scum may form on the top olives, but according to my mother's Italian neighbors, this adds to the flavor of the olives! (One of my Italian sources says this is the "culture which consumes the bitterness of the olives.” Toss out the scum and use any olives that look unspoiled. (A squishy olive is a spoiled olive.)
Sunday, November 11, 2007
Farmhouse Ginger Jam
Use traditionally or try this with roasted meats or fish
1 ½ cups chopped, peeled fresh ginger
2 cups water
2 T. lemon juice
3 cups sugar
1 pouch liquid pectin (3 oz)
Beet Relish
1 lb raw beets
1 red onion, thinly sliced
2 tart cooking apples, cored and sliced
½ cup red wine vinegar
½ cup malt vinegar
4 T. horseradish relish
1/3 cup light brown sugar
1/3 cup raisins (currents are better cause they are smaller)
Marinated Herb Cheese
4 oz. regular cream cheese
4 oz. feta cheese (see Note)
2 cloves of garlic, peeled
¾ cup or more extra virgin olive oil
3 sprigs fresh herbs, such as rosemary, thyme, marjoram
4-6 whole peppercorns
In a food processor, thoroughly blend the cheeses and garlic cloves to form a smooth paste. Line a mold, or several small molds, with damp cheese cloth or plastic wrap. For example, you may use small ramekins, teacups, small bread tins the inverted cover of a butter dish. With a spatula, spoon the cheese mixture into the cheesecloth lined mold(s) and smooth out the surface. Refrigerate until firm.
Pickled Lemon Slices
(a good substitute for preserved lemons)
1 ½ quarts white vinegar
½ cup salt
2 T. sugar
15 whole cloves
1 tsp. nutmeg
1 tsp mace
1T. mustard seed
1 hot chili pepper, seeded
15 lemons
6 garlic cloves, peeled (optional)
In a large saucepan, combine vinegar, salt and sugar. Tie the cloves in a muslin or cheesecloth bag and add it to the mixture, along with the nutmeg, mace, mustard seed and chili pepper. Bring to a boil, lower the heat and simmer for 15 minutes. While syrup is simmering, cut the lemons into thin slices. Add the slices to the syrup and simmer for 10 minutes or until the lemons are tender. Place one whole garlic clove in each jar. Remove the spice bag and the whole pepper from the syrup. Ladle lemons into hot jars and cover with simmering syrup, leave ½ inch headspace. Remove bubbles. Wipe rims. Adjust lids and rings. Process 10 minutes in a boiling water bath.
Carrot and Bourbon Jam
Yield: 3 half pints
4 whole allspice berries
1 cinnamon stick, broken into pieces
4 cups grated carrots
1/3 cups grated lemon peel (or 4 lemons if using a microplane)
2/3 cups lemon juice
3 cups sugar
2T. bourbon
Source: Food Lovers Guide to Canning
Celery Vinegar
1 Large Bunch Celery
1 quart White Wine Vinegar
1 tsp salt
1T. sugar
2 tsp celery seed
Chop the celery into small peices, include the leaves and trimmed roots. Place the celery in a large glass bowl. Heat the vinegar and remaining ingredients to simmering and pour them over the celery. Allow to cool then bottle and seal. Steep the 12 days shaking vigorously every day. Strain the contents and re-bottle. Put a fresh sprig of celery in the bottle if desired. Refrigerate for best results.
Source: master Food Preservers Files
Cranberry Mustard
Yields 1 ½ pints
1 cup cider vinegar
½ cup onion, finely diced
½ cup sugar
¼ cup flour
¼ tsp. tumeric
2 cups pureed cranberries (mangos, peaches, etc)
Combine mustard and enough water in a bowl till a smooth paste forms. Cover and let stand 10 minutes. Meanwhile combine cranberries and remaining ingredients in a saucepan, bring to a boil. Boil 3 minutes; remove from heat. Whisk ¼ cup of mixture into the mustard paste until smooth, repeat twice again with ¼ cup hot mixture each time; then whisk in remaining hot mixture. Puree in blender or food processor until smooth. Ladle into hot jars, leaving ¼ inch headspace. Remove air bubbles. Wipe rims, adjust lids and rings. Process 15 minutes in a boiling water bath.
Source: Master Food Preservers Files.
Thursday, September 13, 2007
Fruit Butter

FRUIT BUTTER
1 Cook the fruit until it is soft, stirring constantly.
9 Process in a boiling water canner for 10 minutes.
Cooks notes:
I had approx. 7.5lbs of ripe Bartlett pears plus 1lb of small Asian pears. Following the processing directions above, I added 2 cups white sugar and 2 cups light brown sugar. This was plenty of sugar. I did not add any spices as I loved the intense pear flavor and wanted to preserve it in all its glory. I chose a combination of white and brown sugar because I was afraid the brown sugar might overwhelm the pear flavor. I am satisfied with the results, but either kind of sugar or combination will work well. Next time I may use less sugar as the finished product is quite sweet. However, if fruit butter is like jam the sweetness may mellow in the jar.
After cooking the fruit down I tested it using the cold spoon test. Place a few metal spoons the freezer before you start your project. Once your fruit has cooked down to a consistency you think will work then remove a spoon from the freezer and dip it in the fruit butter. If the fruit sticks to the spoon and does not run off AND there is no liquid ring around the fruit on the spoon then it is be done.
Monday, July 30, 2007
Tomato Jam--Nookie_Monster
mmmm......jammy.....
Tomato jam Makes about 1 1/2 cups
500g ripe gourmet tomatoes, roughly chopped
2 large fresh red chillies, roughly chopped
2 garlic cloves, chopped
1 tsp freshly grated ginger
2 tbs light soy sauce
11/4 cups (250g) firmly packed brown sugar
100ml white vinegar
1/2 tsp sea salt
1 Place the tomatoes, chillies and garlic into a food processor and process until almost smooth. Transfer to a saucepan.
2 Add the ginger, soy sauce, sugar, vinegar and salt. Bring to the boil. Cook, stirring occasionally, for about 30-35 minutes or until mixture thickens and becomes very glossy.
3 Pour the hot jam into clean jars. Invert for 2 minutes then leave to cool completely. Keep in the fridge.
OR: Process in water bath 15 minutes. I have successfully doubled and tripled the recipe, and substituted other sorts of tomatoes, but I think Romas (or something else meaty) is best.
Monday, July 2, 2007
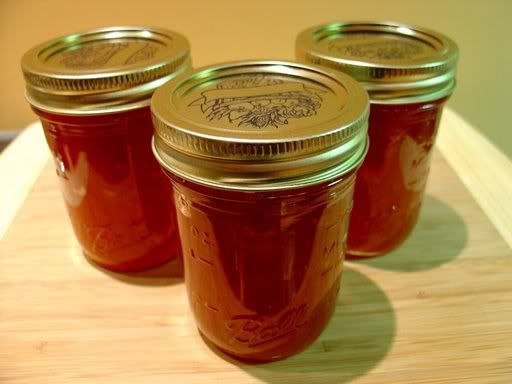
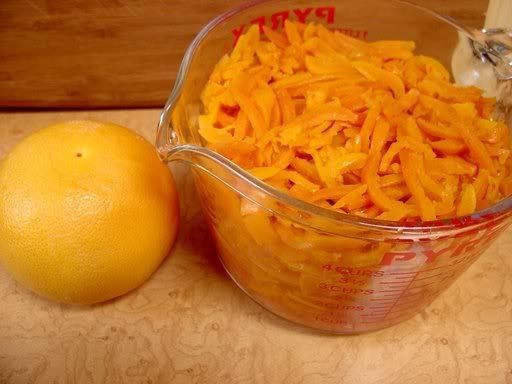
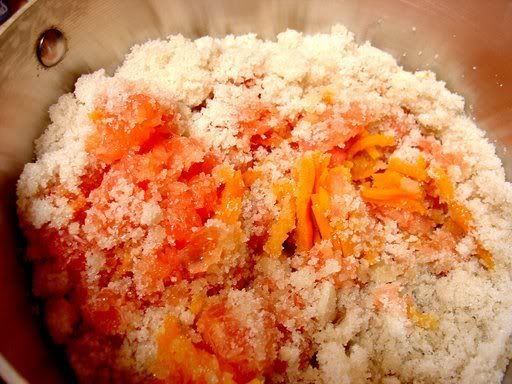
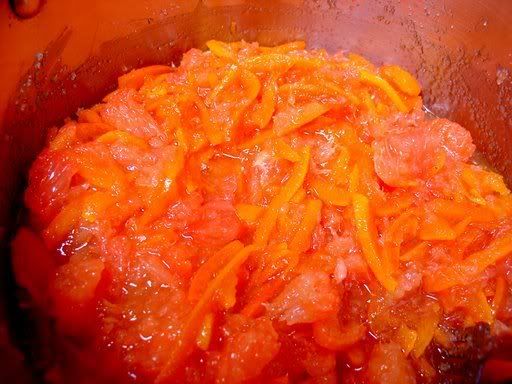
Canning Made Simple (Pink Grapefruit Jam)
Equipment Needed for Canning:
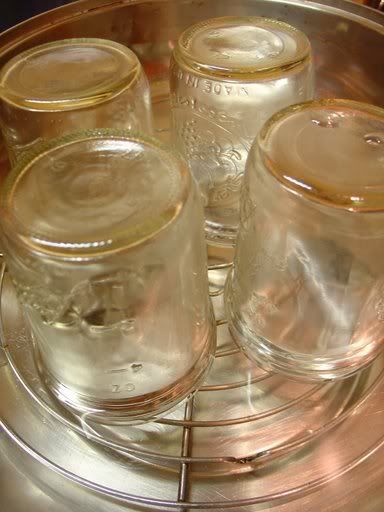
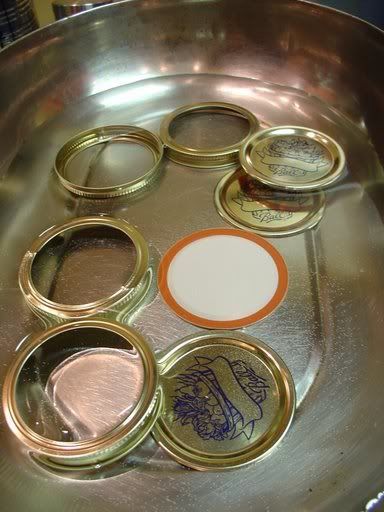
canning jars
canning lids
canning rings
a large roasting pan bottom, or a metal 9x13x2 baking sheet
a pair of tongs
a small wire rack to fit into the pan and raise the jars up


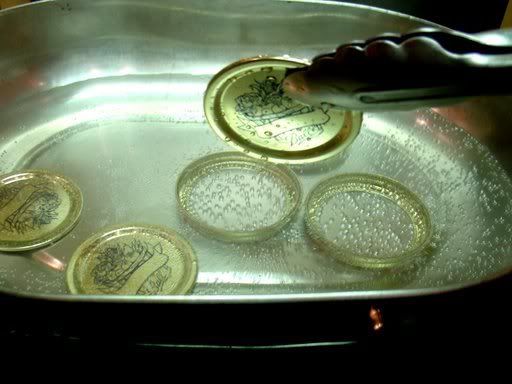
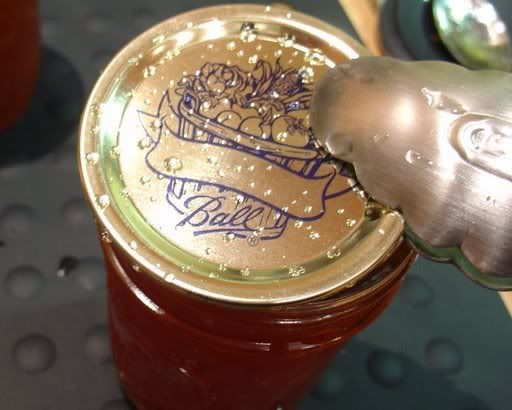
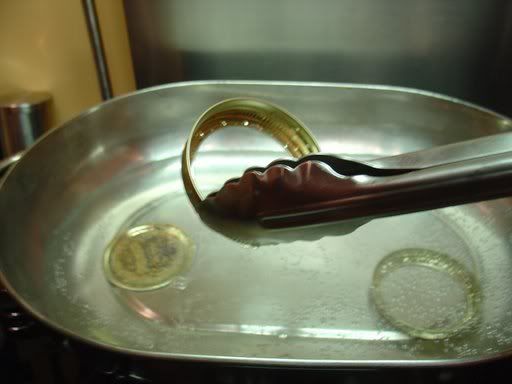

Immediately pick up a rim with the tongs and place over the jar with the lid and twist to help make a good seal. You do not need a really tight twist, but when the jar seals, you should not go back and tighten it or you could break the seal, so make it firm, but not excessively tight. Set the jars that are sealed aside until you hear the lids "pop". That indicates that the jars are sealed. Another way to test a seal is to tap the lid with a metal utensil and listen for a ring. If you hear a "thud" your jar has not properly sealed and you should refrigerate that jar and use within two weeks.
